Introduction:
Email Commands in Zap Helpdesk App lets you perform activities on a Case directly from your email inbox, without having to login to your Dynamics 365. For example, you could perform activities such as changing the case status, assigning it to a different agent, adding a note, responding to Requestor with full chain of conversation history, getting case history etc.
Supported Email Commands:
Assign Case: You can assign the case to any user or team. Parameter can be partial or full name of user or email address (partial email with @ will also do) or #me
#ec #assign [user/team]:
#ec #assign sumeet ballani // Full Name
#ec #assign sumeet // First Name
#ec #assign ballani // Last Name
#ec #assign sballani@ // email address… if @ symbol is used then we look for matching email address
#ec #assign @me // assign case to yourself
#ec #assign support team // assign case to support team… first we match parameter with full name… if no matching found then we try to match with team name…
Set Case Priority: For setting option-set field… first we try exact match…and if no matching value found then we do best match.
#ec #prioirty [priority]:
e.g. #ec #priority high
Set Case Status: Here we match the parameter with Case Status reason values. First we do exact match and if no value found then we do best match.
Please note that only case status for open case can be changed.
#ec #status
e.g. #ec #status in-progress: changes case status to in-progress
#status problem solved: Since this status is for Resolved Case… the case will now be closed and status changed to “Problem Solved”.
Set Case Source:
#ec #source [source]
e.g. #ec #source email
Get Case Conversations:
#ec #getconversation: This will return the public conversation history of the case in email.
#ec #getallconversation: This will return the public as well as private conversation history of the case in email.
Get Case History:
#ec #gethistory: This will return the public history of the case in email.
#ec #getallhistory: This will return the public as well as private history of the case in email.
Add Notes:
#ec #notes [notes details] ##:
#notes ?wht abt notes title?
You can easily add notes to the case record!
Sending new response to Requestor with full conversation history: When responding to requestor from Case form – “Email Reply” section …there is an option to respond with full past conversation history (using the “Update Email” feature).
Now you can achieve the same even from Outlook using email command:
#ec #response [response details] ##:
e.g. #ec #response please try refreshing the license again. The issue has now been resolved from our side.##
Points to note regarding Email Commands:
- Email commands only work for existing Case
- Email Subject needs to have Case Number (any other text in email subject will be ignored)
- Email commands need to be in email body… with no text before it…email command needs to be the first line in email body…you can use multiple email commands… and they need to be used consecutively…
e.g.
#ec #assign #me
#ec #source email
Pre-requisites settings needed for using Email Commands:
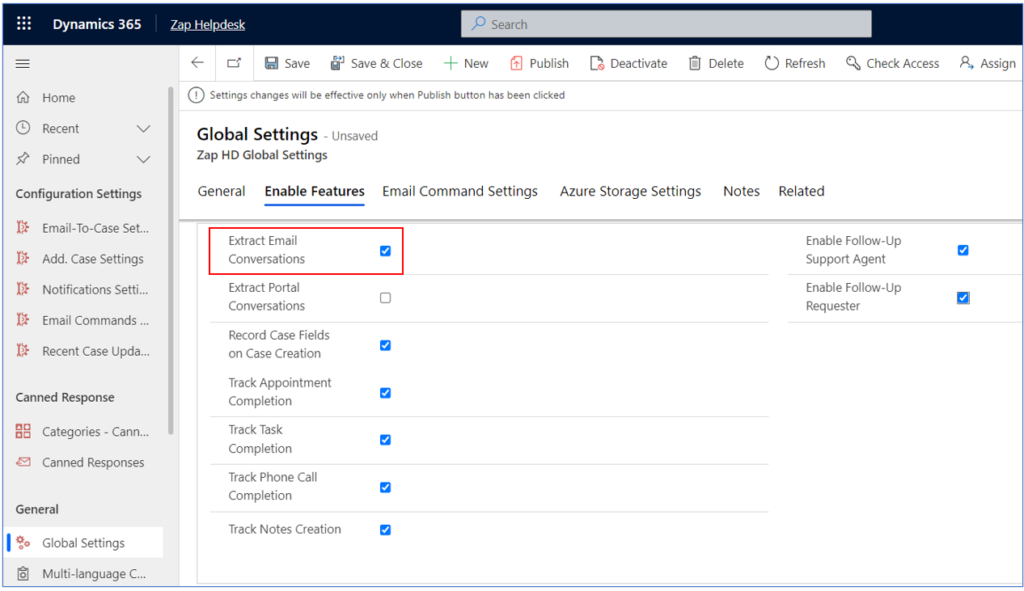
- “Extract Email Conversations” settings in Global Settings needs to be enabled.
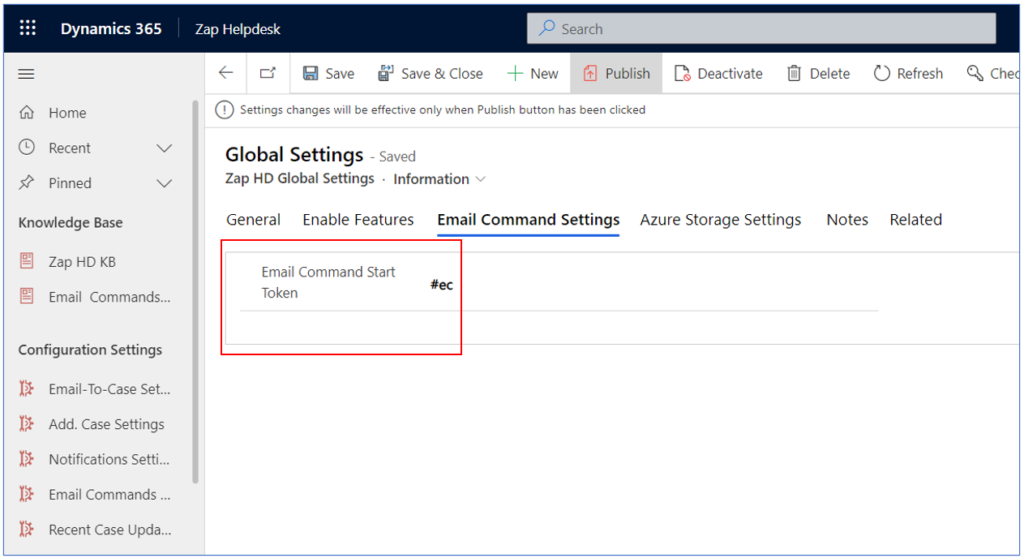
- Note the “Email Command Start Token” in Global Settings.
- “Enable” settings in Additional Case Settings (Tab: Email Command Settings) needs to be checked…
also either “enable for internal domain & email” needs to be checked…or “additional domains/email addresses” need to have valid domain/emails…(only emails coming from internal domain/email or those entered in additional domain/email will be checked against email commands)

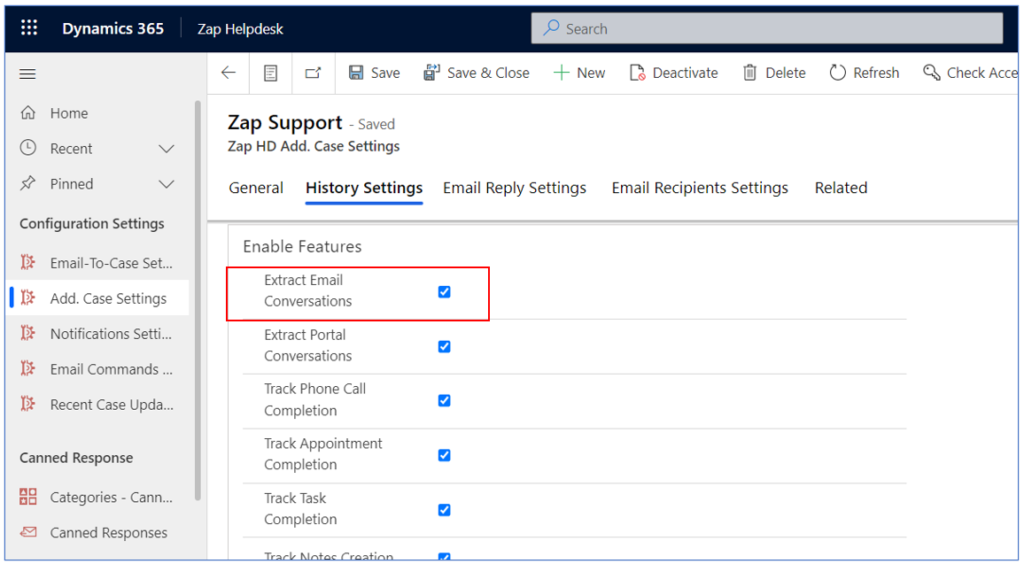
- “Extract Email Conversations” settings in Additional Case Settings needs to be checked
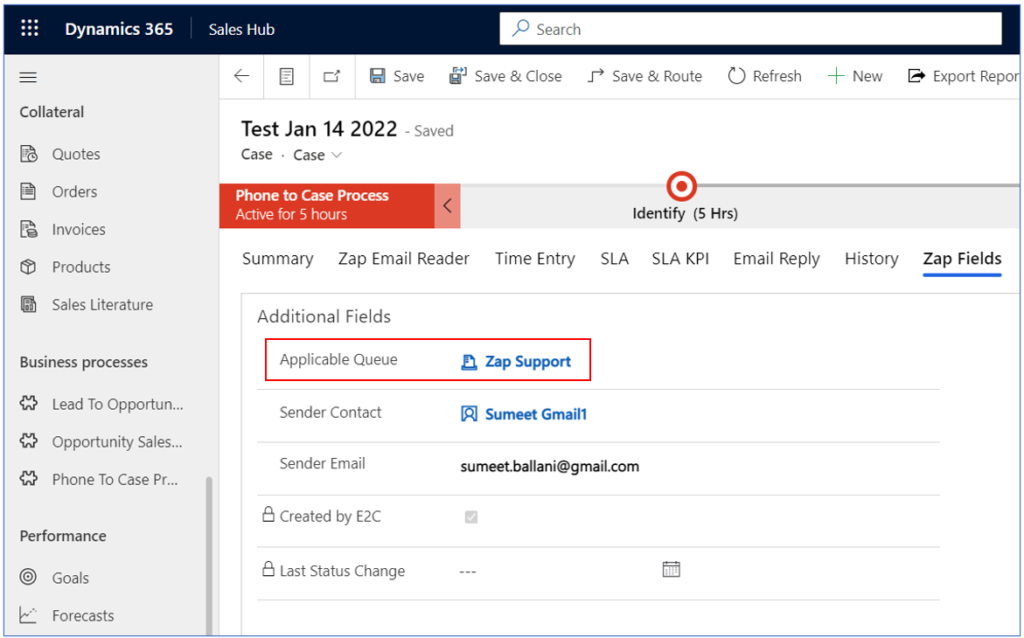
- Case.Applicable Queue needs to be set correctly
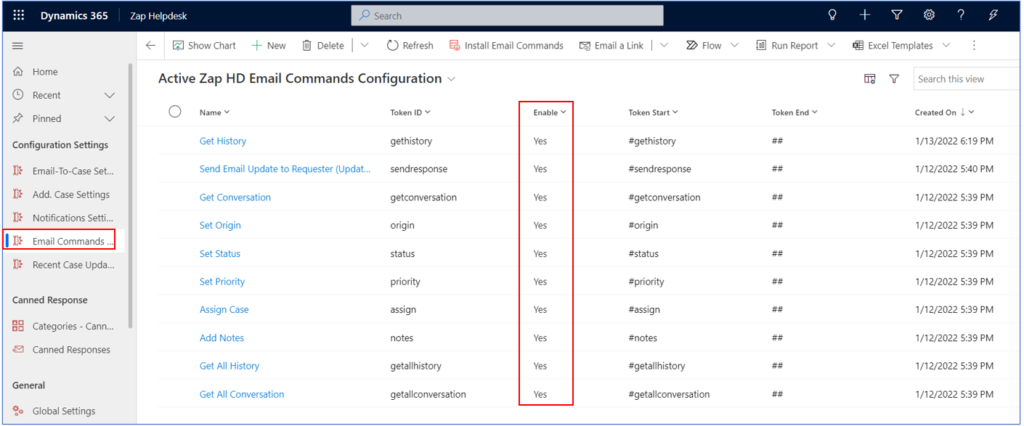
- Email Command needs to be enabled in “Email Commands Configuration” section